Step 1 – Select your image
Load the image you want to manipulate (File > Open).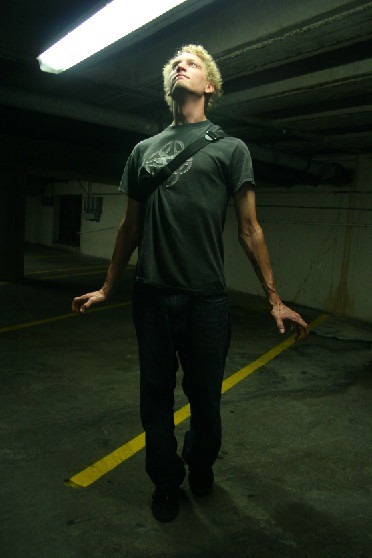
Step 2 – Accentuate the shadows
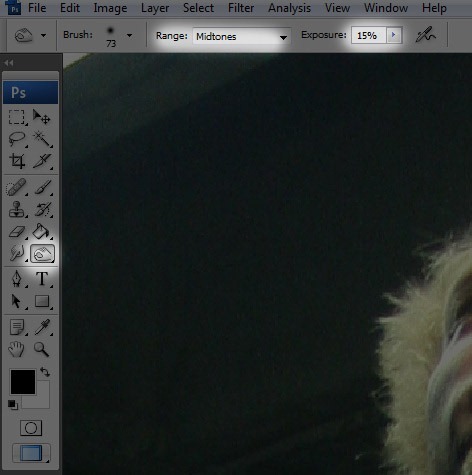
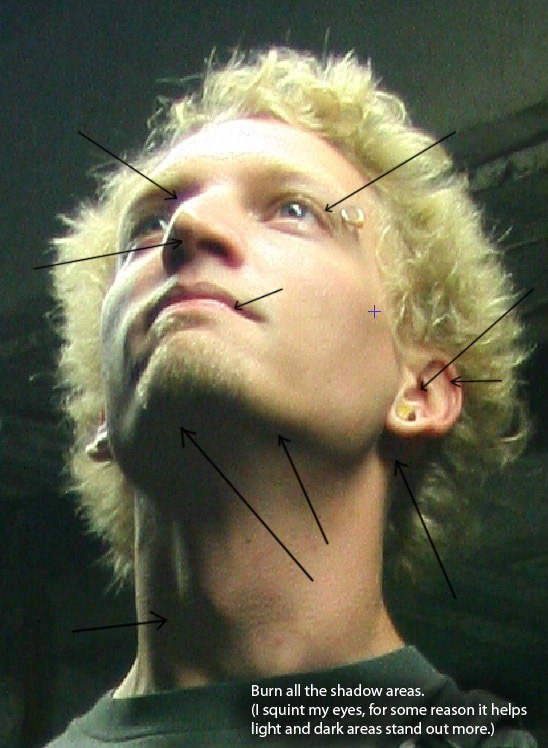
Select the Burn Tool and use the following settings.- Range: Midtones
- Exposure: 15%
Step 3 – Accentuate the highlights
Select the Dodge tool and dodge the areas exposed to light – such as the forehead and the cheeks. The more detailed your burning and dodging, the better the image will look.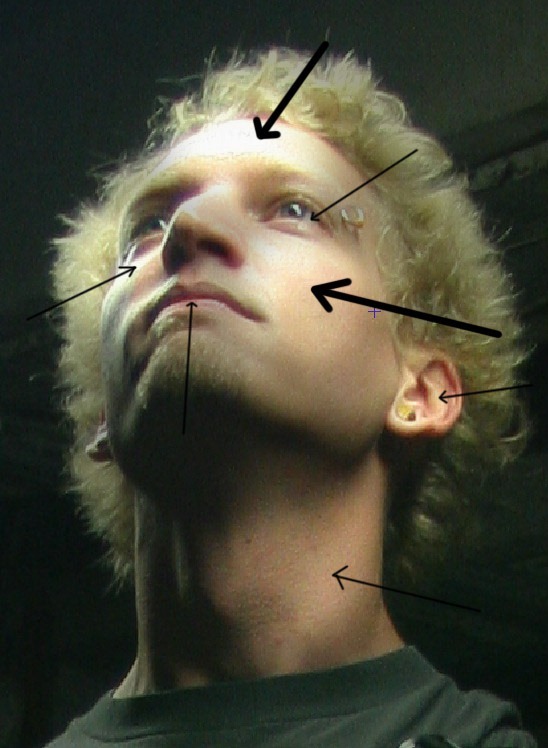
Step 4 – Create a path
Select the pen tool and select “Paths.”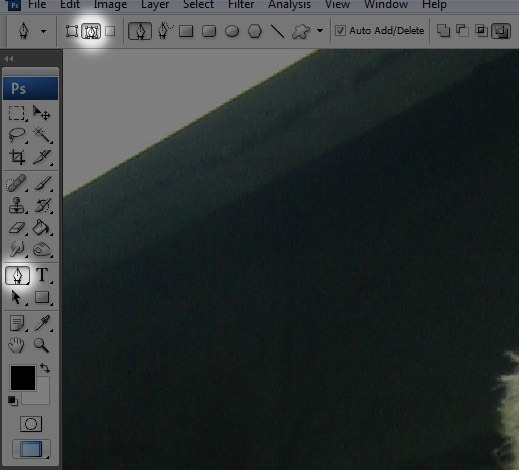

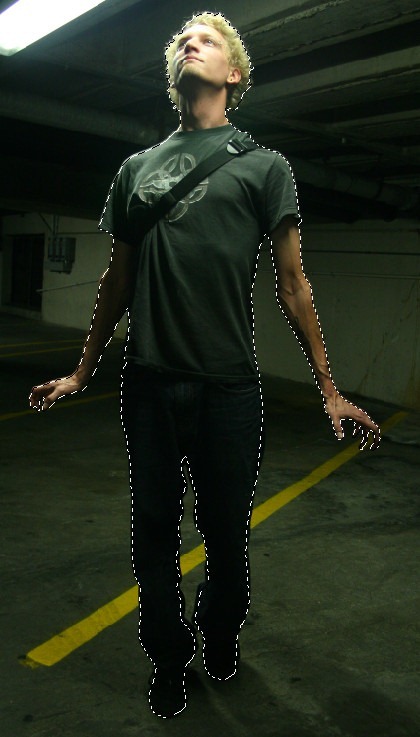
Step 5 – Create a new layer
Create a new layer and paste the image onto the new layer (Ctrl+V). Duplicate the image, just in case. Discard your original image.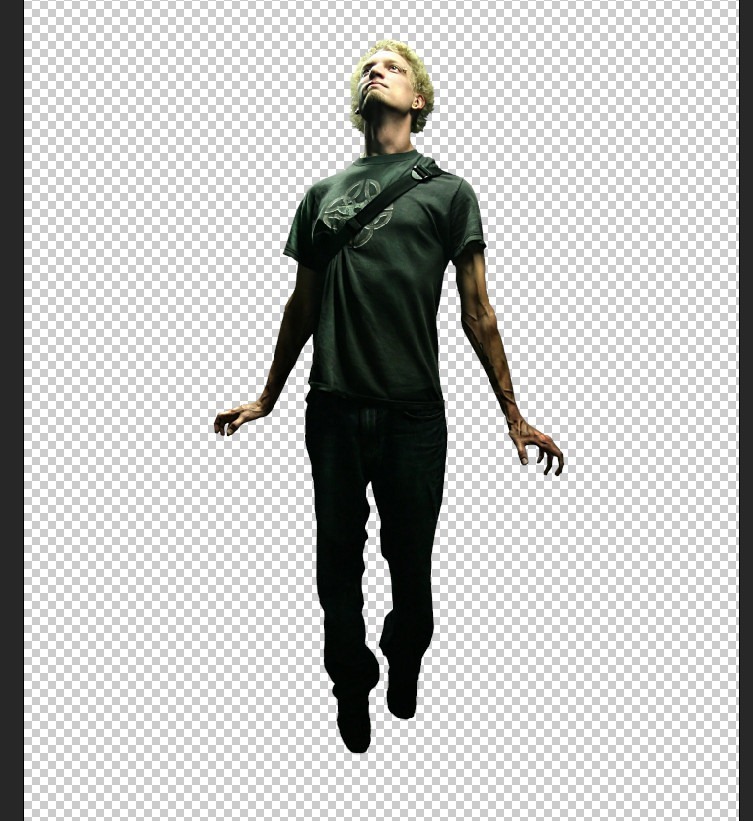
Step 6 – Open your background image
Load the image for your background. Select the image and drag it into the same window as your subject.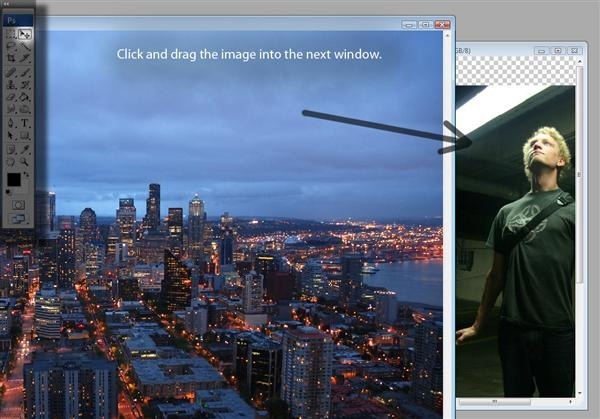
Step 7 – Open your effects image
Load the image for the effects. In this tutorial, we will use flames. Drag the flames into the same window as your subject.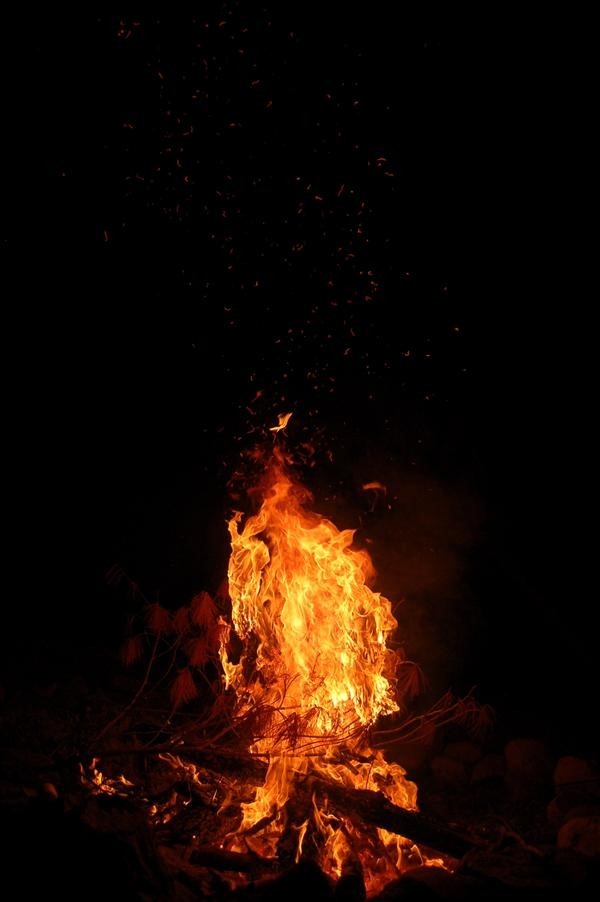
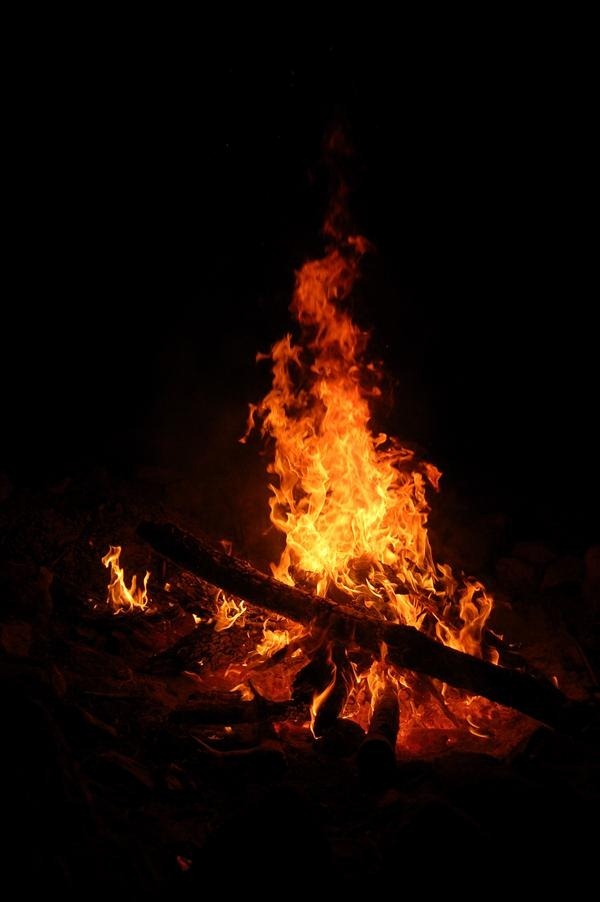
Step 8 – Match the colours
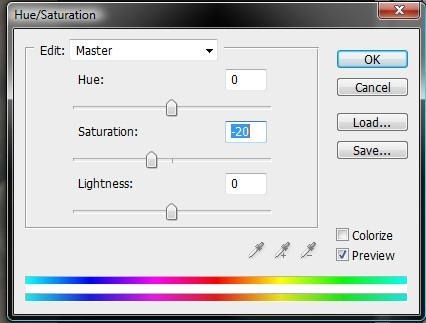
To match the colour of the background to your subject, adjust the Hue and Saturation (Image > Adjustments > Hue and Saturation) to the following settings.- Hue: 0
- Saturation: -20
- Lightness: 0
Warp (Edit > Free Transform > Warp) the shape so that the flames look like they are coming from the subject’s hands.
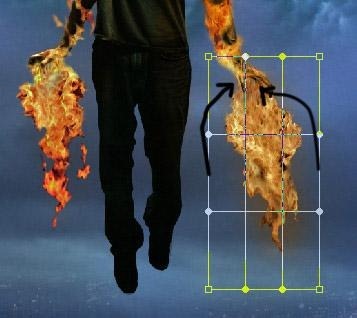
Step 10 – Touch up the flames
Select the layer with the flames and make sure it is placed above the layer with the subject.
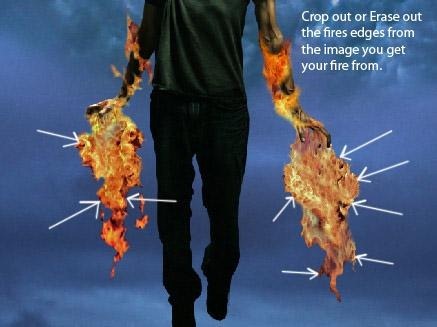
Step 11 – Add a Mask Layer
Click “Add Layer Mask” at the bottom of the Layers Palette. Select the brush tool and set the foreground colour to black.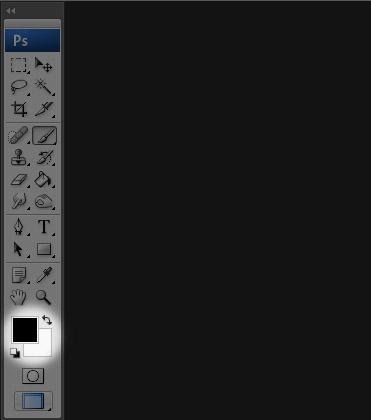
Step 12 – Revealing the arms
Again, making sure the flame layers are above the subject layer, select the flame masks.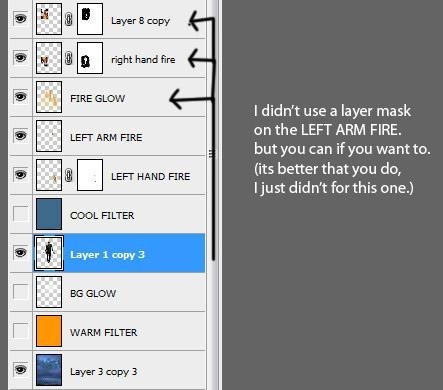
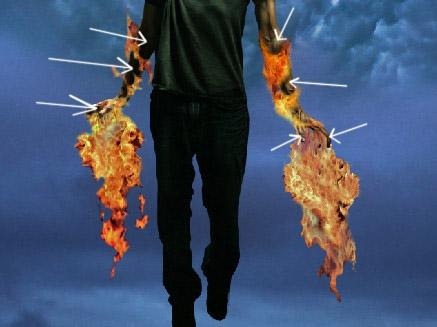
Step 13 – Adding light glow from the flames
Create a new layer on top of your subject layer. Set the foreground colour to lemon yellow or any colour that matches the flames.
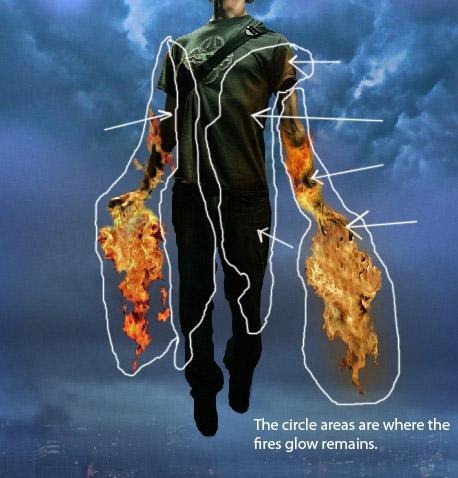
- Mode: Color
- Opacity: 55%

Step 14 – Adding warm glow from the flames
Create another new layer between the subject and the background and name it “Warm Filter.” Fill it with an orange colour.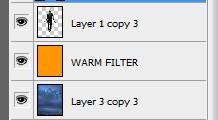
- Mode: Color
- Opacity: 36%


Step 15 – Adding glow to the background
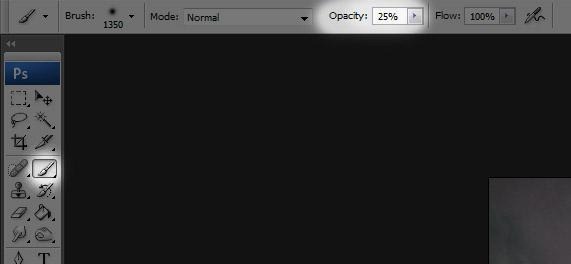
Create another new layer and name it “BG Glow.” Select the Brush Tool and use these settings.- Brush size: 1350
- Opacity: 25%
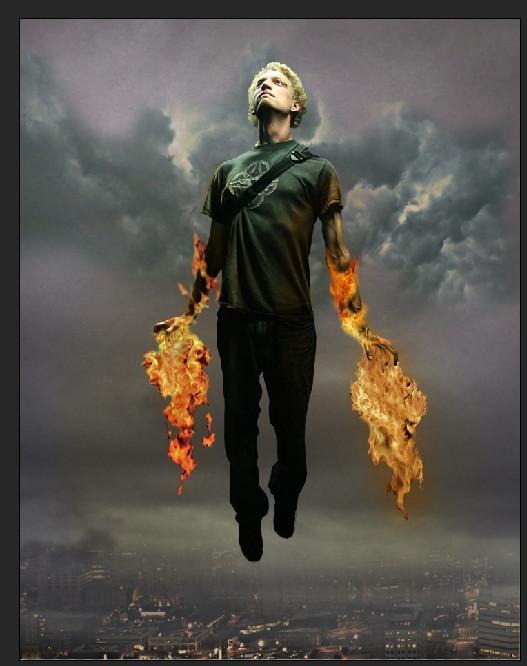
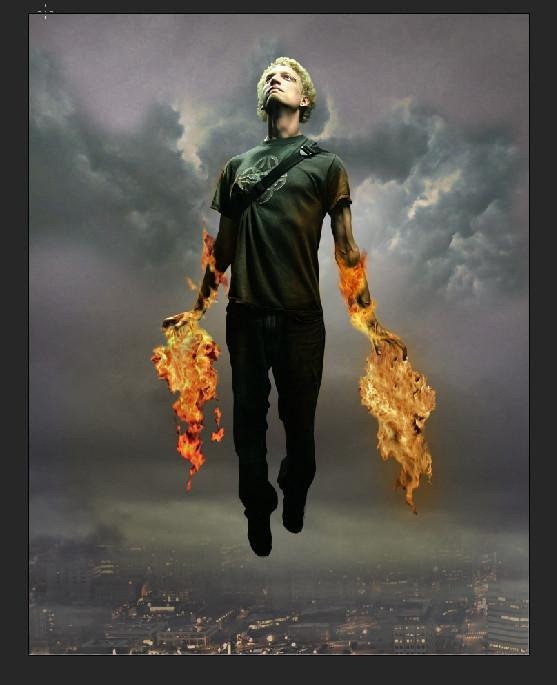
Step 16 – Adding a cool glow to the subject
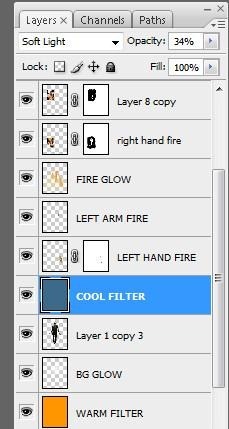
Create a new layer directly above your subject. Title it “Cool Filter” and fill it blue. Set the layer to the following settings.- Mode: Soft Light
- Opacity: 34%
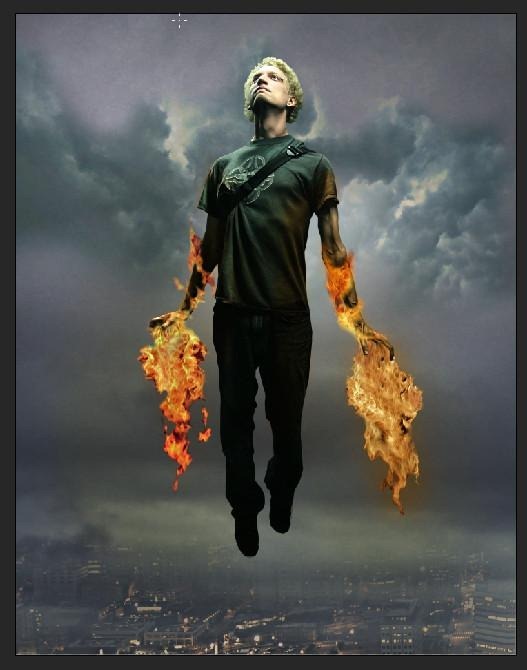
Step 17 – Adding dim
Create a new layer and title it “Orbs.” Select the Brush Tool and use the following settings.- Size: between 97-200
- Opacity: approximately 50%
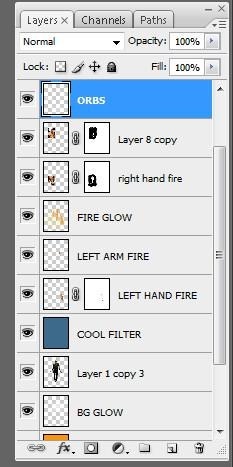

Step 18 – Changing the sky colour
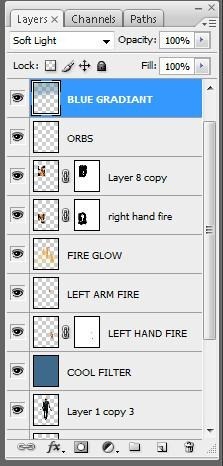
Create a new layer and name it “Blue Gradient.” Select the Brush Tool and set the foreground colour to light blue. Use the following settings for your brush.- Size: 1250
- Opacity: 53%
- Blend Mode: Soft Light

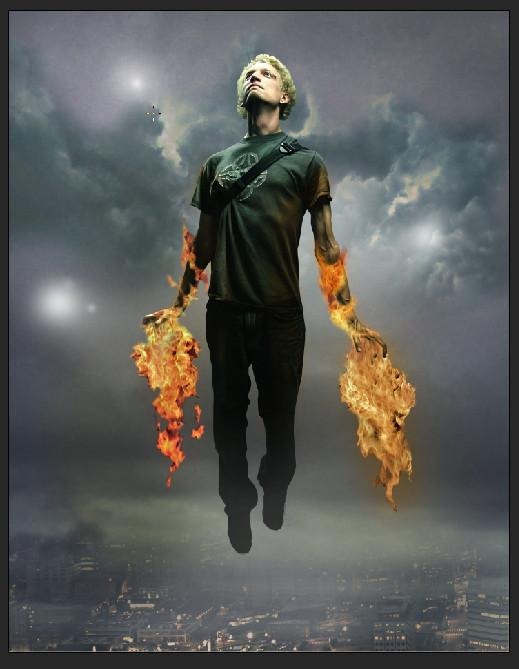
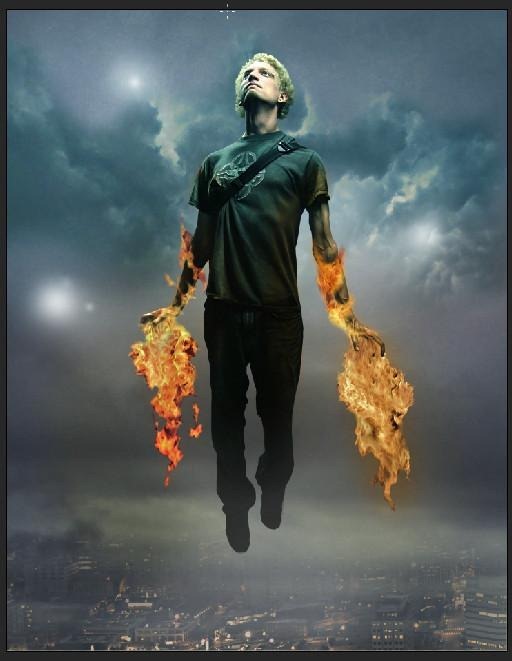
Step 19 – Softening the border
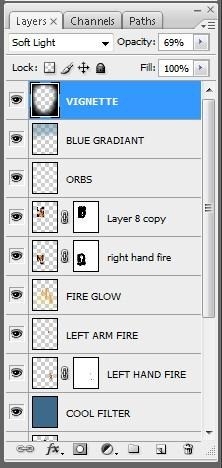
Create a new layer on top of all the other layers and name it “vignette.” Fill the layer black with the Paint Tool. Then select the Eraser Tool with the following settings.- Blend Mode: Soft Light
- Opacity: 69%
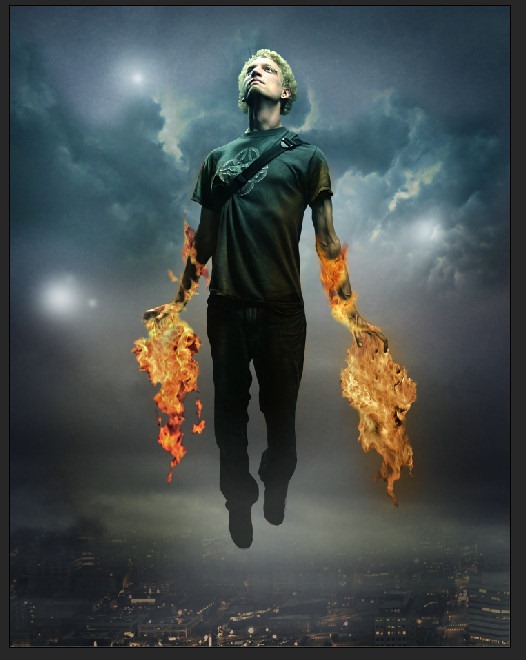
Step 20 – Final Output

Tidak ada komentar:
Posting Komentar