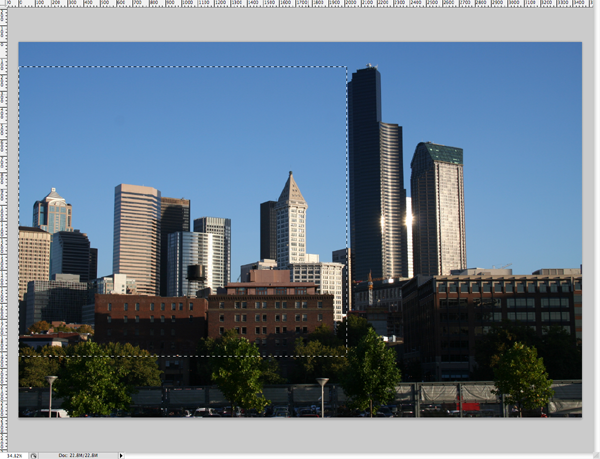
Step 1 – Open the image of the city
Lets get started! Load the image of the model into Photoshop. To do this, choose File > Open, browse for the file, then click OK. For this tutorial, I just decided that I wanted to leave out some of the city, because it was a really big image. So, in the picture below, you can see that I selected a portion of the city to use in the rest of the tutorial using the marquee tool.
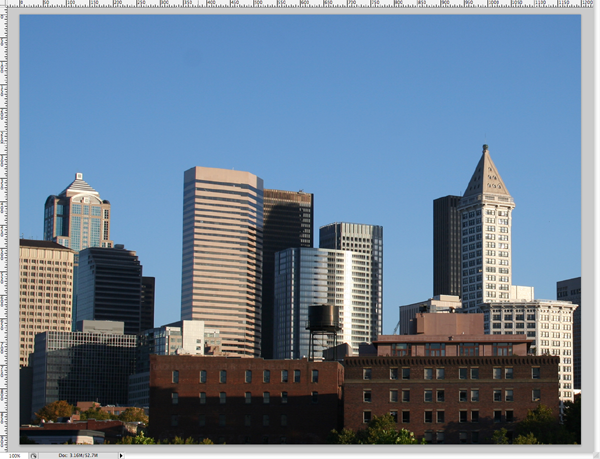
Step 2 - Scale the image selection that you chose in step 1
Alright, so with that selected, copy it (control/command + C) and paste it into a new document (File > New). The default settings will be fine, and click OK. At this point, you will want to resize the document to a smaller scale (or keep it huge, but the tutorial will work with smaller units, so you will have to adjust everything if you keep the image really big). I rescaled the image to a width of 1200 px (Image > Image Size...) put 1200 in for the width, and the height will scale appropriately, automatically. Before you go any further, name this layer "city".
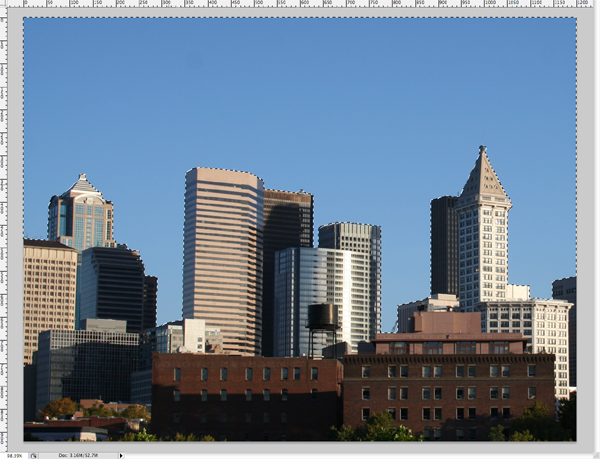
Step 3 - Select the sky
The next thing to do is to select the sky. There are lots of ways to do this, but for this tutorial, I wanted to be quick, so I just grabbed the quick selection (or magic wand) tool "w", and painted the sky until I had it selected. The pen tool will give you more exact results, but you probably won't notice small mistakes further on because of the clouds that we will add later. Just try to get a good selection.
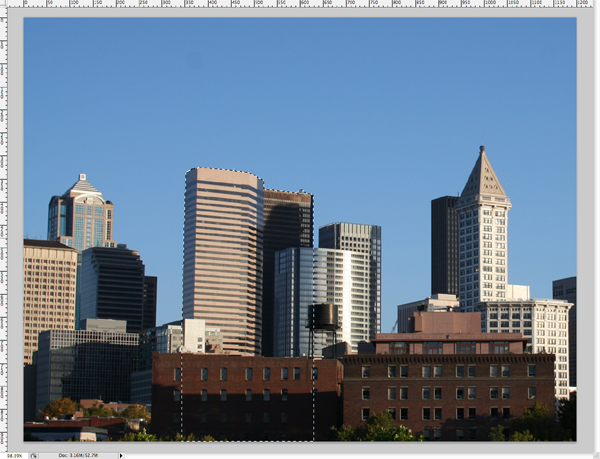
Step 4 - Isolate your buildings
Now you get to choose which buildings you want to apply the effect to. First, you are going to want to select the city instead of the sky, so go to Select > Inverse, and then take the marquee tool "m" and choose the buildings that you want. Hold down option when you click and drag (this will get rid of the selected city on either side of your buildings. You should arrive at something that looks like the following image.
Tidak ada komentar:
Posting Komentar