Step 1
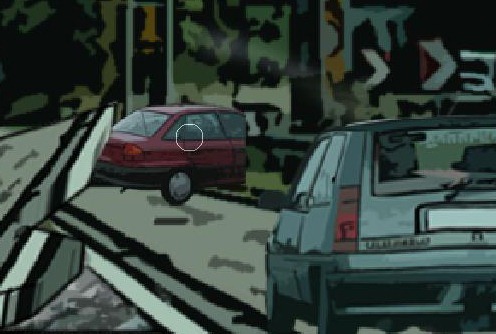
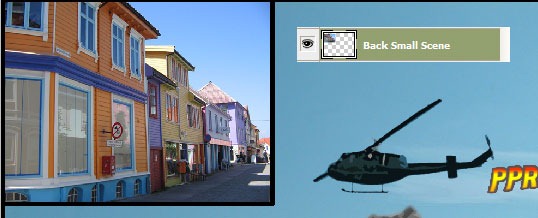
Open an image of a city like this one. The original photograph is a photo taken on the highway of Austria during a vacation.Step 2
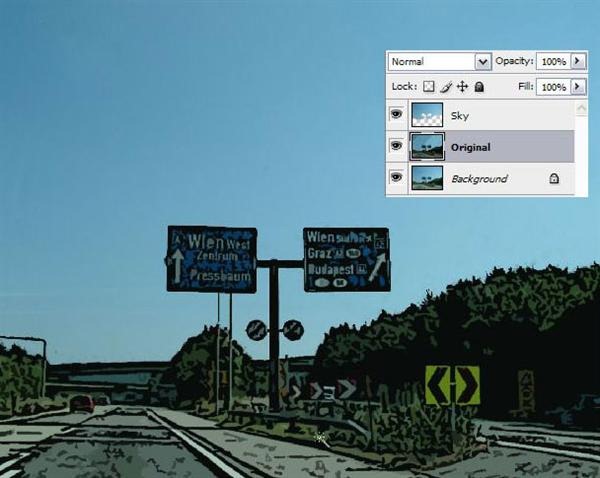
Duplicate the background layer then rename this layer to “Original”. Use the Magic Wand tool to create a selection of the blue sky then press Ctrl+J to duplicate the selected area into a new layer. Name this new layer “Sky”.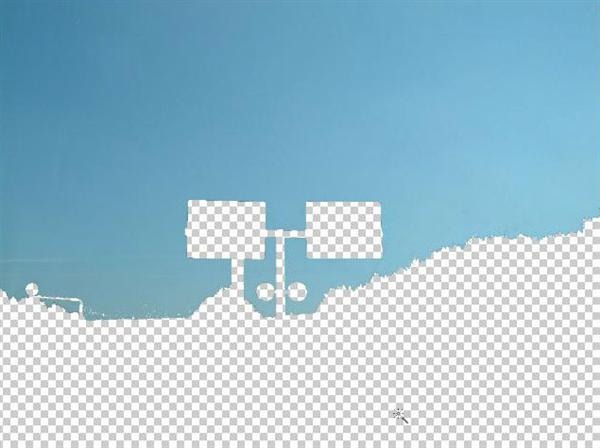
Step 3
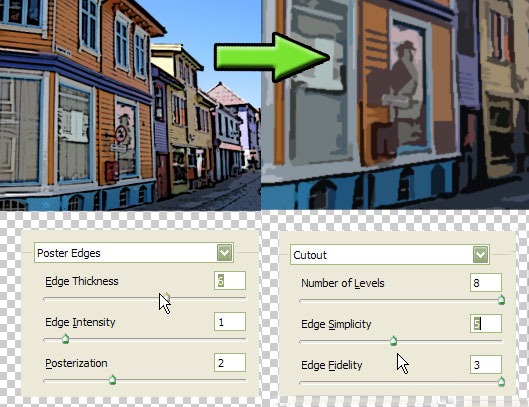
Now select the Original layer and put an effect over it called Poster Edges. Take over the number or play with it to try you own style.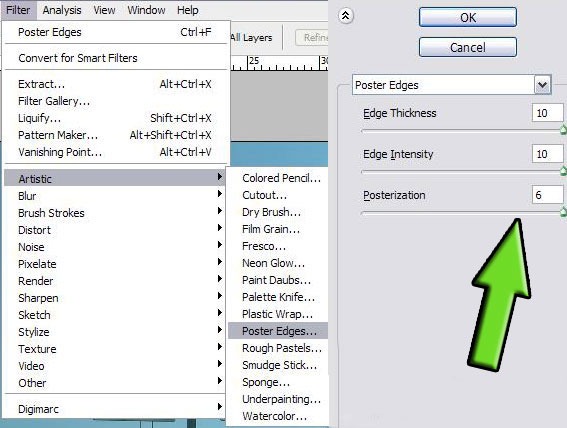
Step 4
Then select the Original layer then choose Filter > Poster edges > 10,10,6. Don't mind the blue sky area in this layer, we have a clean blue sky in the Sky layer.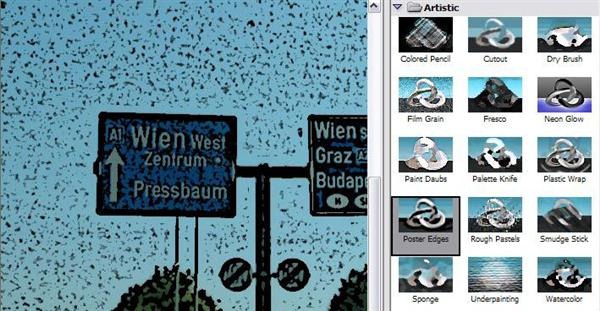
Step 5
I want to break up the highway so i need some rocky land with a lot of big stones. I used a photograph from the high mountains in Norway. I took this photo while i was hiking the famous Preikestølen. I took the half of the photograph and copied it to the other side, like a mirror reflection.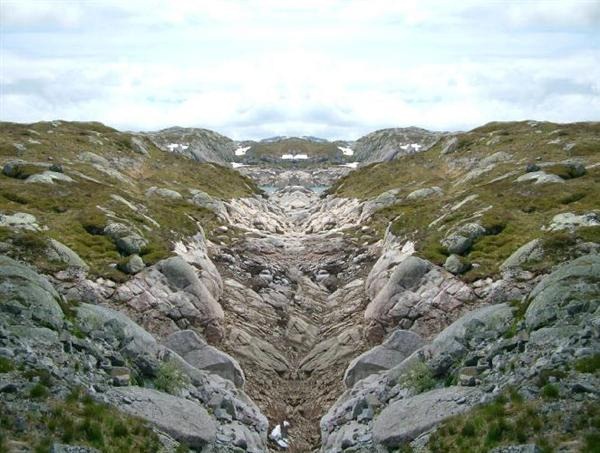
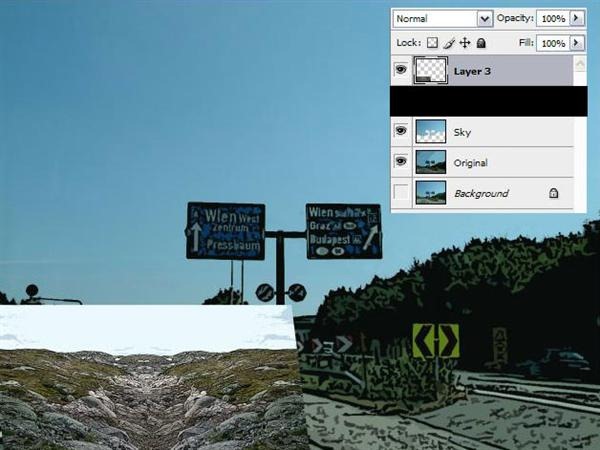
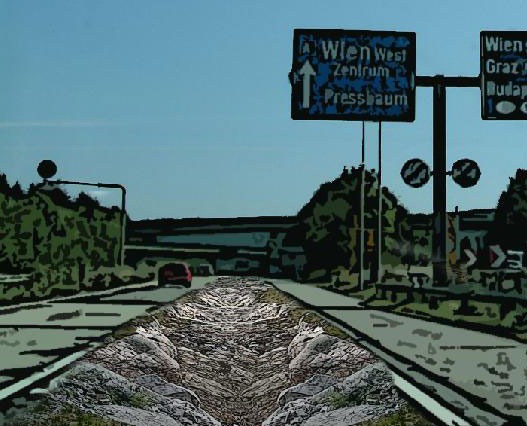
Step 6
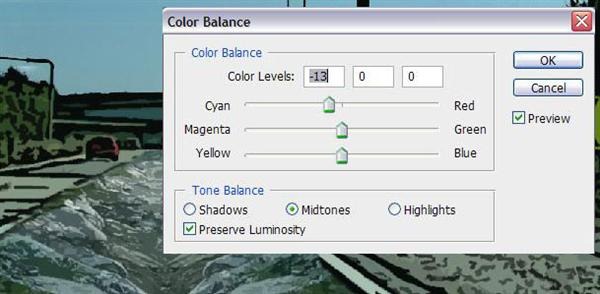
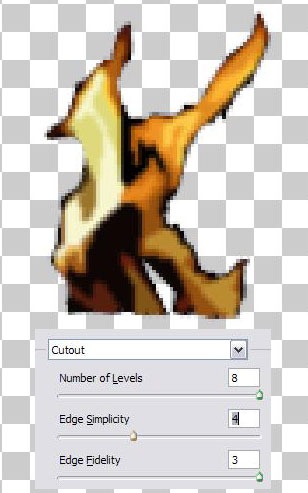
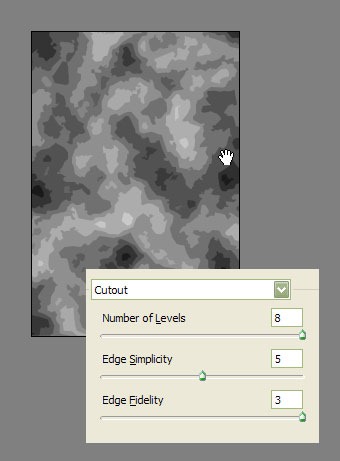
Choose Filter > Artistic > Cutout. I used these settings, but feel free to use your own.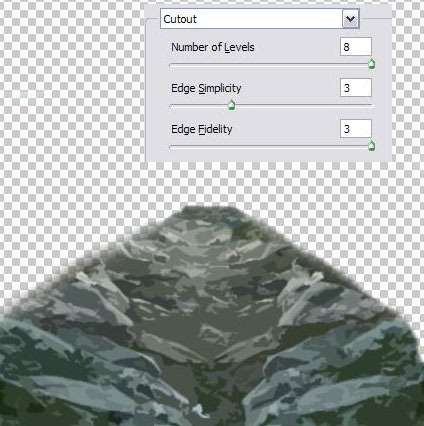
Step 7
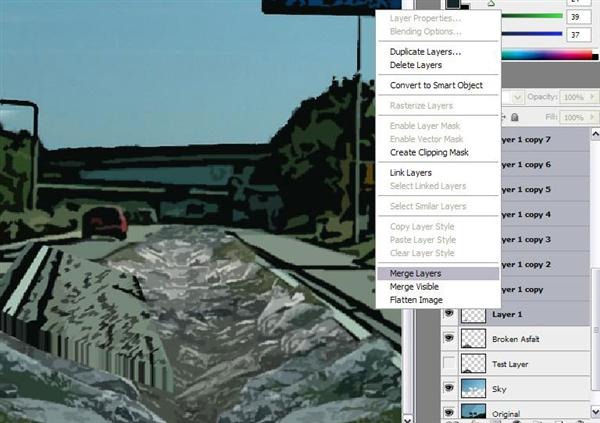
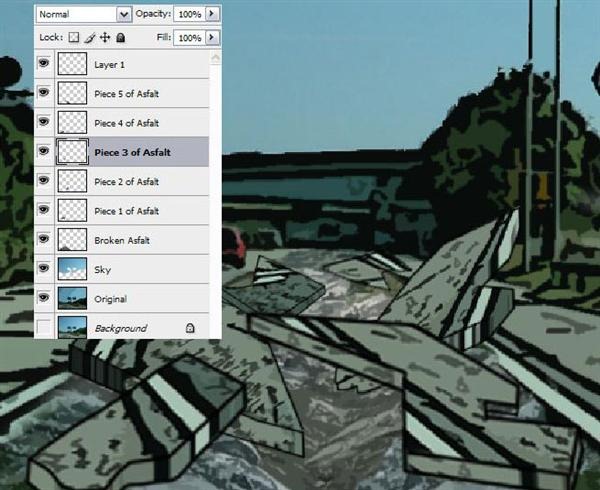
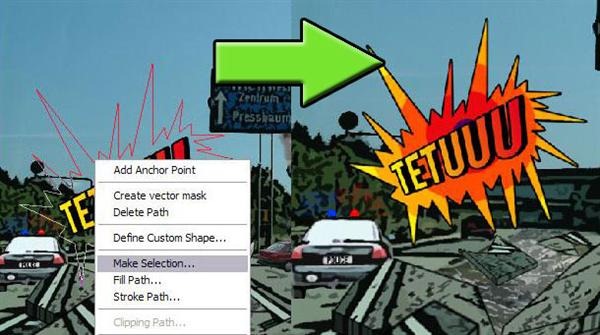
Select the Original layer then use the Pen tool (P) to trace some pavement of the highway. Right mouse on your Pen tool path choose 'Make Selection'.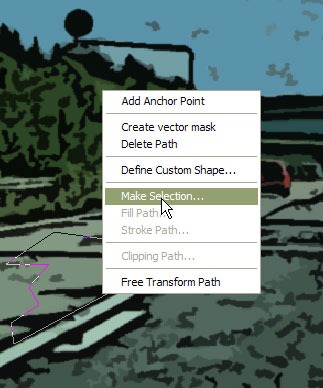
Step 8
Take your Brush tool (B) and draw edges on the piece of asphalt. Use Shift to make straight lines from point to point! Take a dark color, like black or dark grey.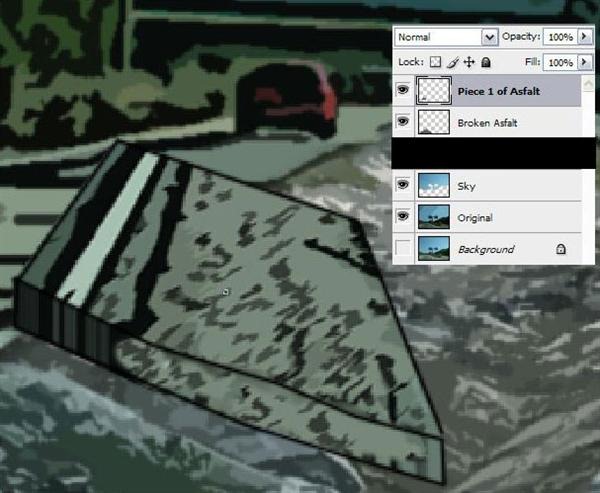

Step 9
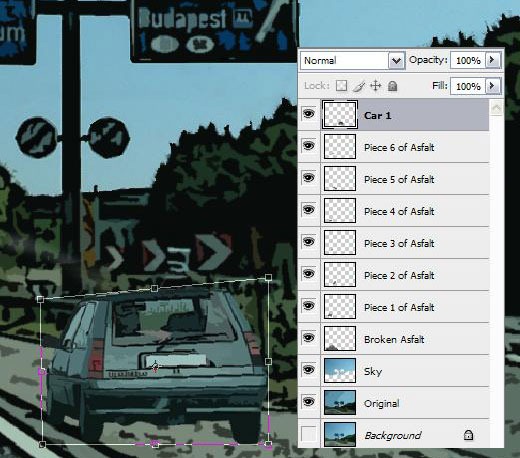
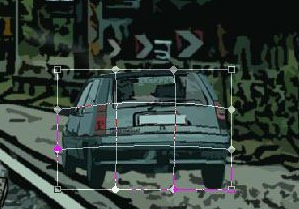
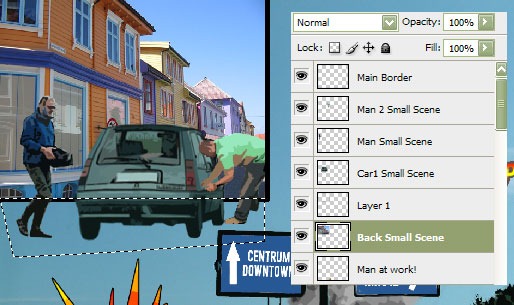
I cut out a car from another photograph then pasted this into the project. Give the car the same filter effects (Filter > Artistic > Poster edges) then use the Cutout filter (Filter > Artistic > Cutout) to create a cartoonish look. Play with these settings to your liking. You can find more filters under the Filter > Artistic menu.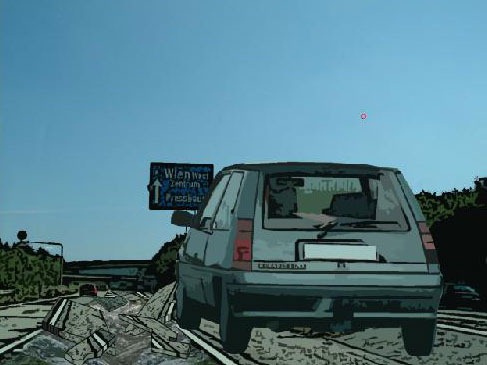
Step 10
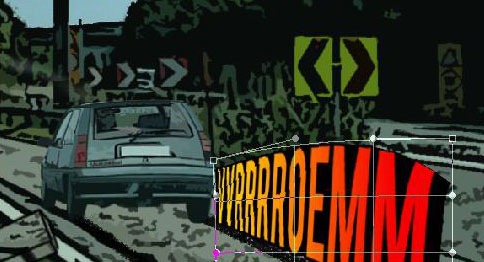
Add a text layer into the project and put in "VRRRROEMM". Choose Layer > Rasterize > Type then use the Transform tool (Ctrl+T or Edit > Transform) to distort the text to your liking. Go to blending options then choose gradient. (Right click on layer then choose blending options).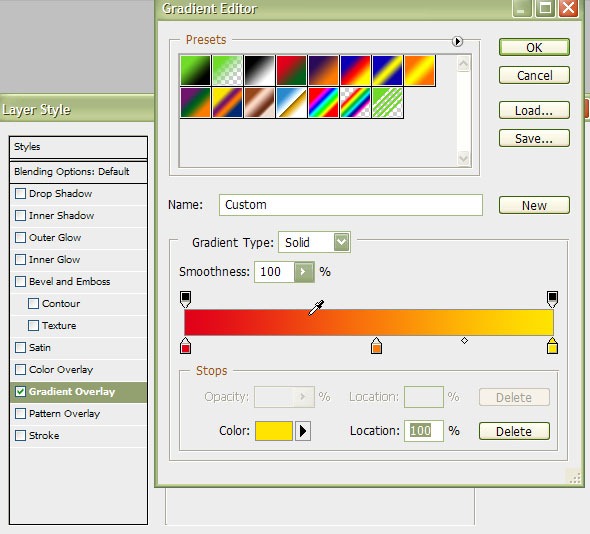
Step 11
I also give the car a little bit more speed by draw a line. Take the brush tool, color white, and draw a line or some lines. Go to blending options and give it a black stroke, 2 or 3px depending on your project scale. For depth do the Alt trick i explained while doing the asphalt debris and text VRRROEEMM.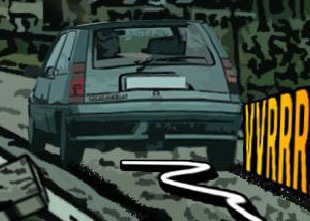
Step 12
I putted in another (half) car, to give a bit more action. (copy, paste from another photograph)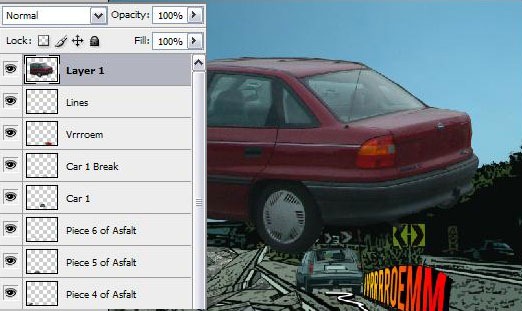


Step 13
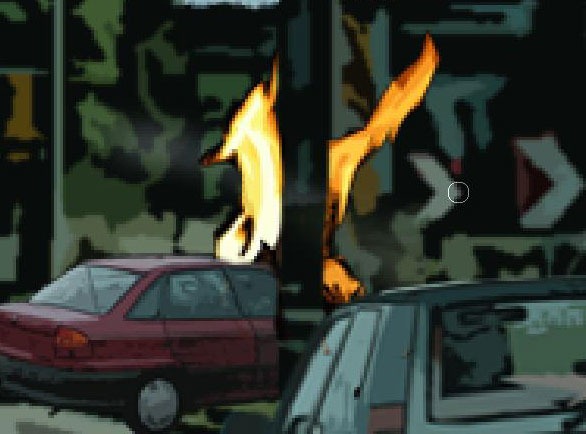
I used a fire picture i took from our fireplace to use it in this project. (copy, paste from another photograph)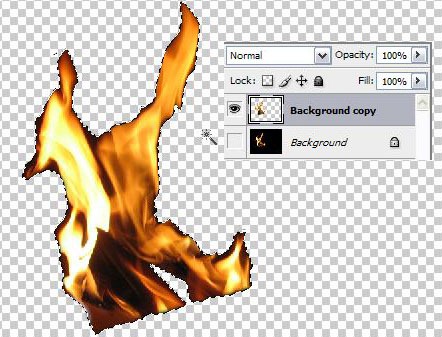
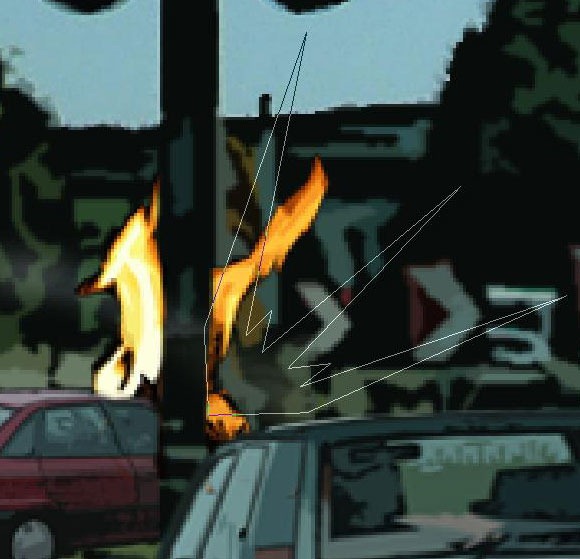
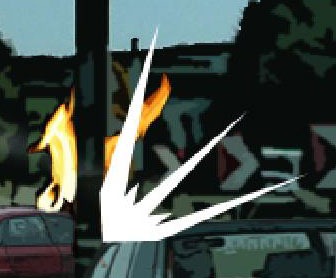
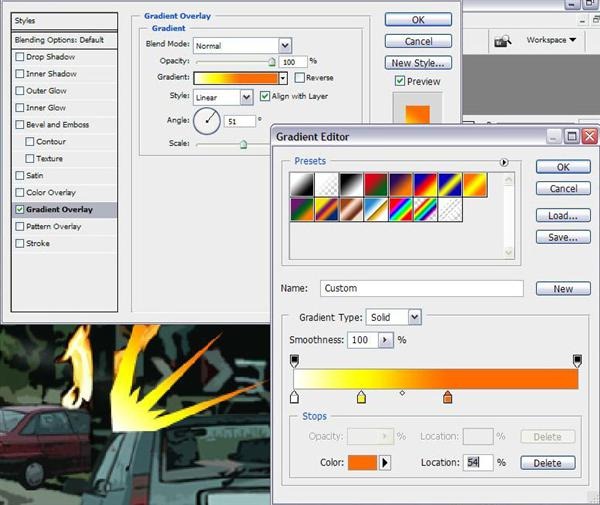
Step 14
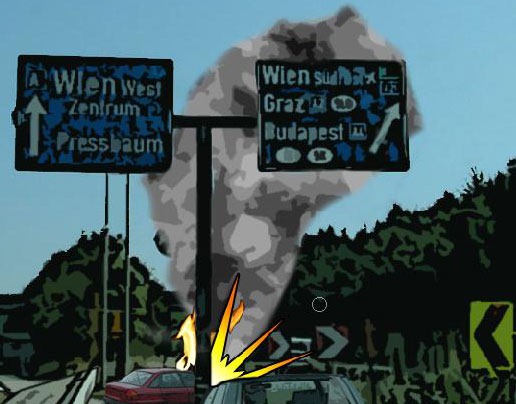
Now we are going to create some smoke. Make a new layer then select an area around the exploding car. Choose Filter > Render > Clouds. Put this layer under the exploding flash layer.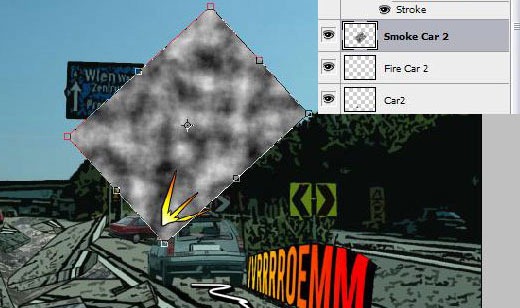
To create depth, erase all the smoke that is in front of the traffic sign.
Step 14
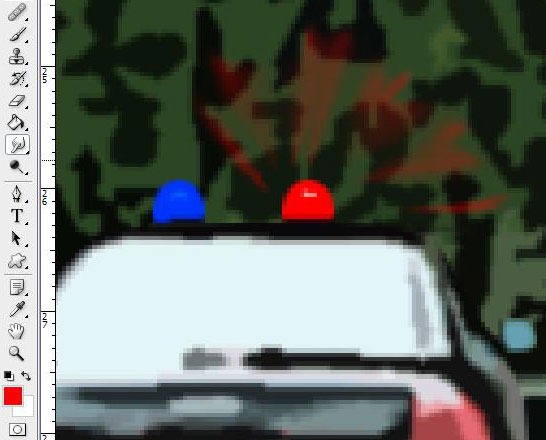
Another car, a police car! I added another car. To get more action! To make it a police car, draw the siren light on top of the roof. Select the Elliptical Marquee Tool (M) and select an orb type of selection. Fill this with a blue using the Paint bucket tool (G).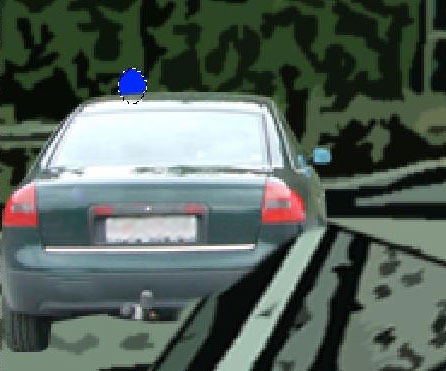
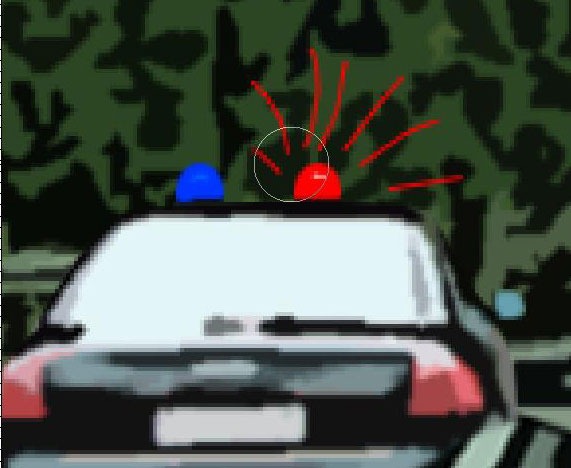
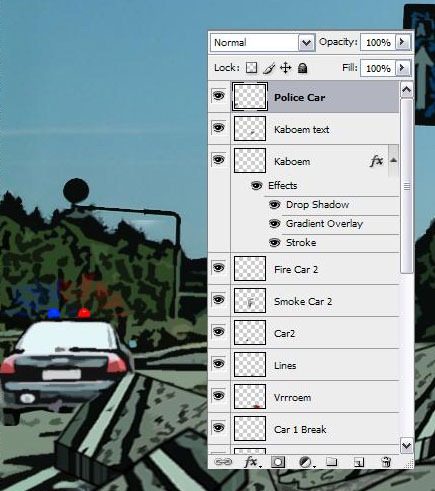
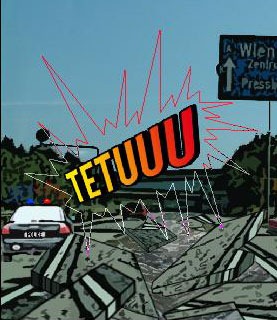
Make a new text layer. Type 'TETUU'or similar and rasterize this layer. (Layer > Rasterize > Type). Hold Alt and push Left several times, to create the 3D effect. Merge these layers together. Also give this text a gradient layer we used before in the blending options.
Step 16
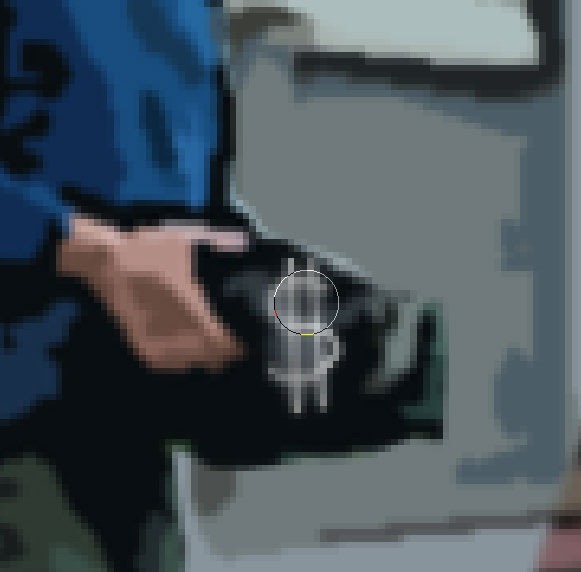
Now we are going to change the traffic direction signs. Select the Original layer and select out the traffic direction sign. Then make your own text. I did this: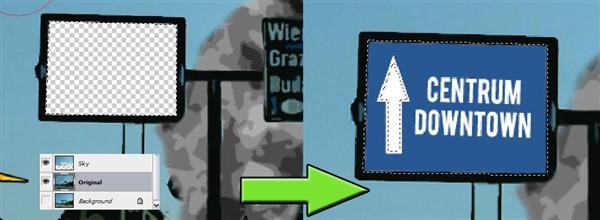
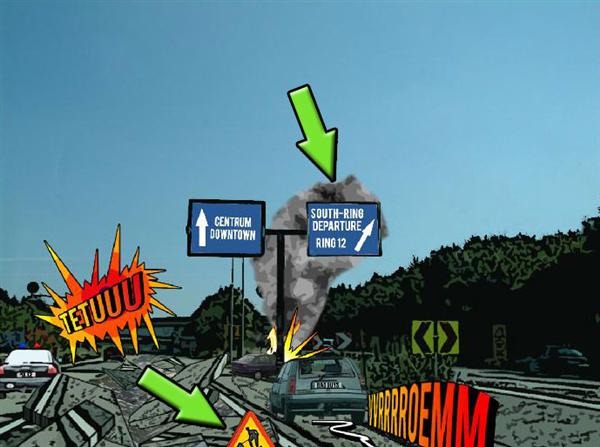
Step 17
I also added a police helicopter. This one i photographed in Austria when i was on holiday. I gave the helicopter the known Poster edges and Cutout filter effects. And i added some text to this layer. And Warp this text a little bit down. (Edit > Transform > Warp) To give the helicopter some speed i took the Brush tool (B) and the color white. Around 10px is ok. I did not take a regular brush, but i is fine to do so.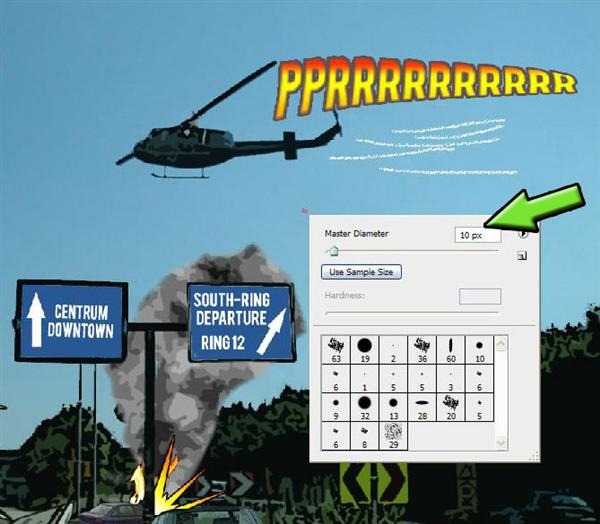
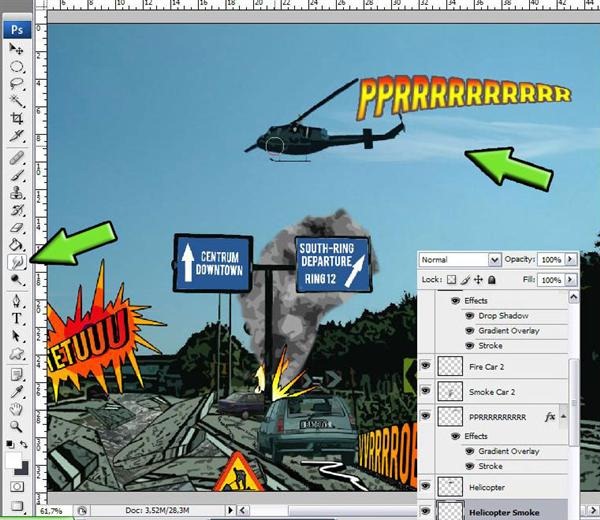
Step 18
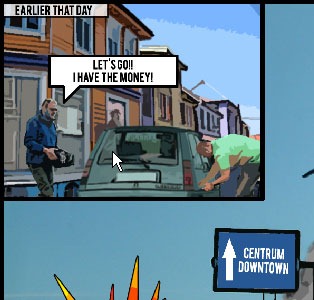
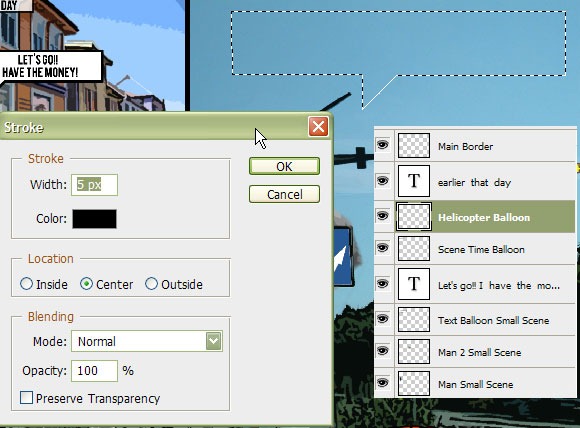
Now we're going to draw some text balloons. For every written text en text balloons, i used separated layers. Use the Pen tool (P) to draw the outlines and hold Shift to create straight lines. Make selection out of it. (Remember? Right mouse on path and select 'make selection'). Then stroke this selection. (Edit->Stroke) Choose size 5 and color black and click ok. Deselect it and fill it with the color white using the Paint bucket tool(G).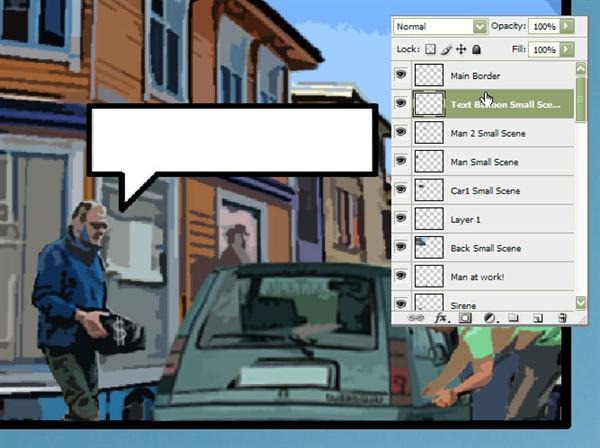
Final Results
I added some stuff, like tire tracks and some text on the police car. Also i added a 'Bad guy' text balloon! And a border around the hole project. Stroke 4px, black. Done! This is the final image! Good luck and have fun!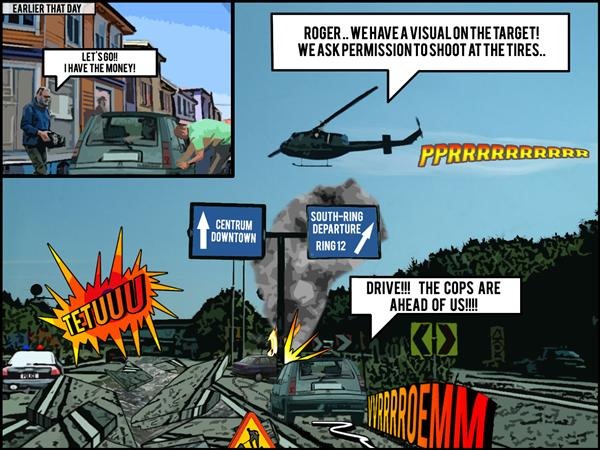
Tidak ada komentar:
Posting Komentar